> ## Documentation Index
> Fetch the complete documentation index at: https://www.latentcast.com/docs/llms.txt
> Use this file to discover all available pages before exploring further.
# Make the Video Story
> Create a Video Story with the wizard, finetune it, and sign it off.
**Where:** Video Stories ▸ Stories. It is also the page you land on after logging in.
Everything starts with one Video Story. You make it once, finetune it
until you like it, and sign it off. Every personalized video later on is built from this one.
There are two ways to make it, and they are very different:
* **From content.** You give LatentCast a brochure, a slide deck or a report and a short brief.
LatentCast writes the script and builds the scenes from that.
* **From your script.** You pick the **Custom** story type and give LatentCast your own script.
The video follows your script word for word. LatentCast builds the scenes around it, but the
words are yours.
Choose the first when you have material and want LatentCast to find the story in it. Choose the
second when you already know exactly what should be said.
## Do
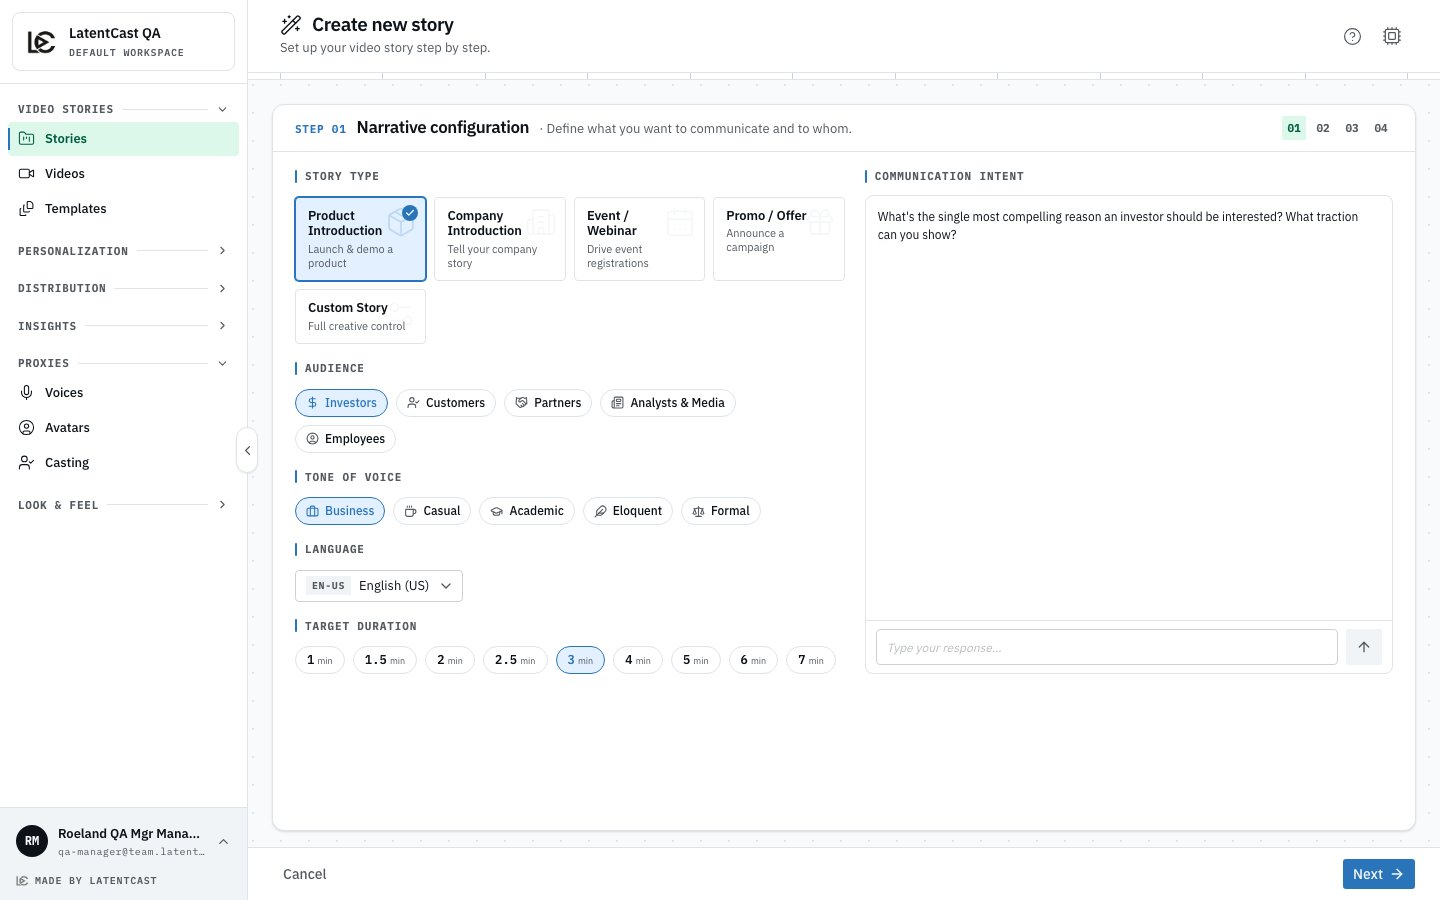
On **Stories**, press **New story**. The wizard opens with four steps.
Step 1: pick the kind of story (a product introduction, a company introduction, an event, an
offer, or **Custom**), the audience, the tone of voice and a target length. Then write one or
two sentences on what this video should achieve. That short brief steers everything that
follows. Pick **Custom** if you will provide your own script in the next step.
Pick the language here too. The story is written and spoken in one language, and it cannot be
changed once the script exists. Dutch and French add a register: whether the video says u or
je, vous or tu.
Step 2, from content: upload a brochure, a slide deck or a report. LatentCast reads it straight
away and checks that it fits your brief. If the content and your brief do not match, it says so
and stops rather than inventing a story. LatentCast then writes the script.
Step 2, from your script (Custom): provide the script itself. LatentCast does not rewrite it.
The narration is your text, scene by scene, and the visuals are built to match it.
Step 3: choose a style and your brand kit. Step 4 is a recap. Create the Video Story, and
production starts.
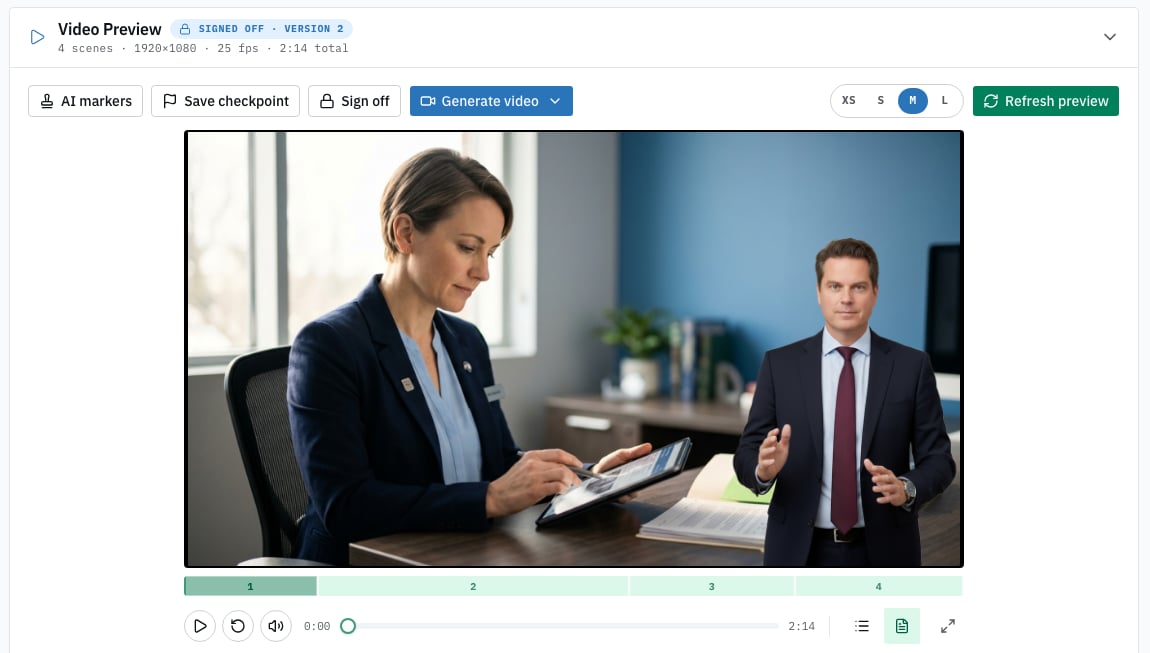
The story page shows production moving through its steps. A few minutes later the preview
plays: scenes, narration, backgrounds and on-screen text. Watch it the way a recipient would.
The presenter is a still image at this point. Their proxy is static
until you render it, on purpose, in a later step.
Open the Tuning Chat with the round blue button at the bottom
right, or **Tuning Chat** in the header. Say what you want changed: "make the opening shorter",
"swap the background in scene 2", "add our logo". It makes the change, shows it in the preview,
and gives you an undo. You can also edit the scenes directly. Chat or edit, until you like it.
What you can change, scene by scene:
* **Narrative:** the text that is spoken and shown on screen.
* **Avatar:** which presenter appears, and their size and position in the frame.
* **Voice:** which voice speaks the narrative.
* **Events:** the titles, highlighted phrases, figures and logos that appear on screen, timed
to the words.
* **Backgrounds:** the image or video behind the presenter.
Once you are done finetuning, press **Generate video** and choose **Proxy videos**. This
animates the presenter, scene by scene, lip-synced to the narrative, and the preview shows
them moving. The avatars are always rendered last, because they take a lot of time and
resources. Render them once the words are final, not before, or you render them twice.
When you would happily show it to a recipient, press **Sign off** in the preview header and give
the version a short label. The Video Story is now frozen as Version 1 and available to the next
stage. That is what sign-off means everywhere in LatentCast.